
6 Easy Steps to Restore Your 4th Gen Mazda’s Interior Plastic!
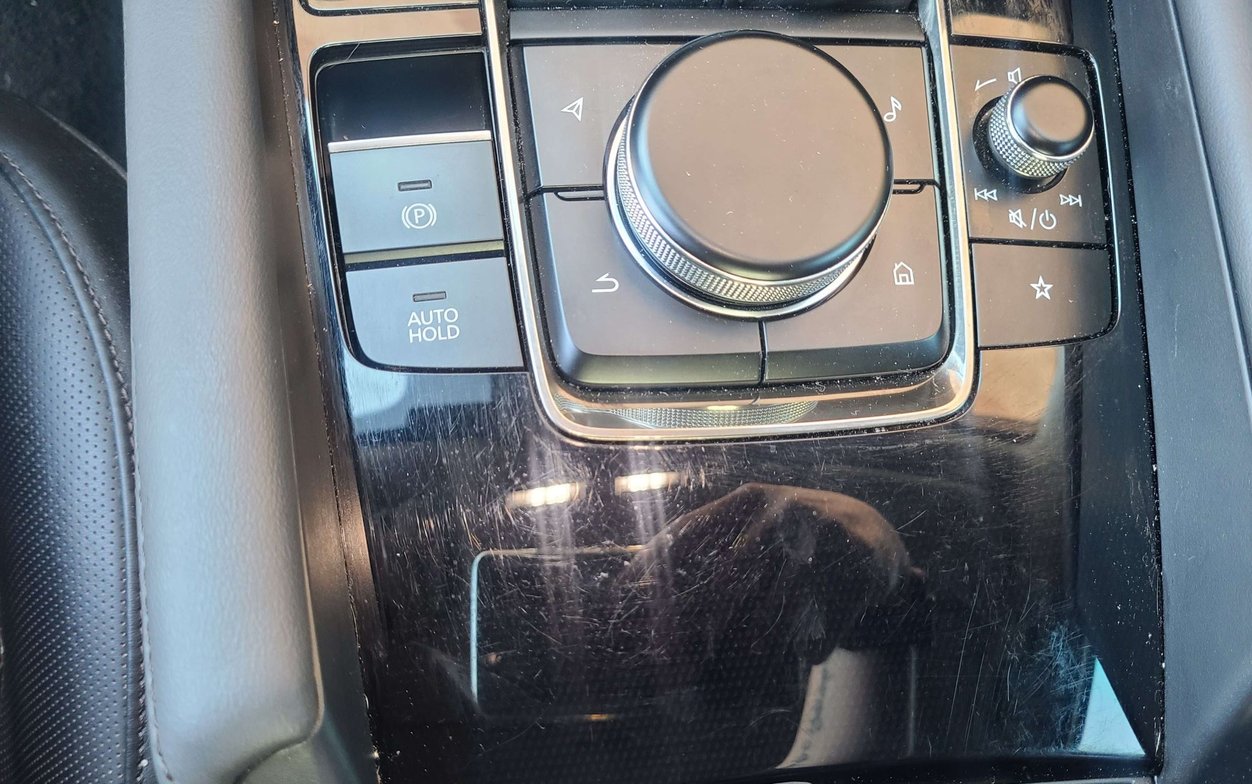
Piano black trim pieces.
That single sentence alone is probably enough to send most 2019+ 4th Gen Mazda owners to the ER with an aneurism.
We’ve all heard about it, many of us have seen it, some even had the forethought to apply a protective plastic.
And then there’s the rest of us: stuck with scratches and swirls ALL over our piano black interior plastic.

Prevention is key.
The unfortunate reality is that the interior plastic is extremely soft, and the high gloss piano finish shows every imperfection.
The best way to deal with scratches and swirls is to never have them in the first place. (Well yeah, no s#*%!!)
As useless as that comment seems, since you’re reading this article to find a solution to FIX the swirls, it’s really worth preparing some sort of protective wrap for the plastic that you can install AFTER the scratches are fixed.
So what does a pro detailer suggest?
Enough pre-amble, this isn’t a food blog with 7 pages of family genealogy before a half page 5 minute recipe. I’m also not a detailer, as much as that mommy blogger isn’t a pediatrician, so I reached out to our awesome community of Mazda owners and DRTuned Customers in our Discord server to get some first hand professional insight.
Liz is a professional detailer, and is currently in the process of tuning her custom turbo’d MZR Mazda 3 with our Boosted Tuning Kit!
Step 1: Supplies
Gather all the necessary supplies and tools. While many of us already have some basic materials for cleaning our cars, it’s important to have a dedicated supply of materials specifically for working on the interior.
Here’s what Liz suggests to get started:
-Quality plastic polishing compound. Any exterior polishing compound will work as well, and brands such as 3D, Meguiars, and Mothers are my preferred compounds to work with.
-Fresh clean microfiber towels
-Multipurpose interior cleaner
-DA Polisher (completely optional, but very versatile for detailing and makes the job much easier)
Step 2: Clean
It’s extremely important to ensure the interior surfaces are clean from any dirt and debris that could make your scratches WORSE during the polishing stage of restoration.
A clean surface will allow for the polishing compound to do its job properly, acting as a very fine and consistent abrasive to smooth out the surface of the plastic.
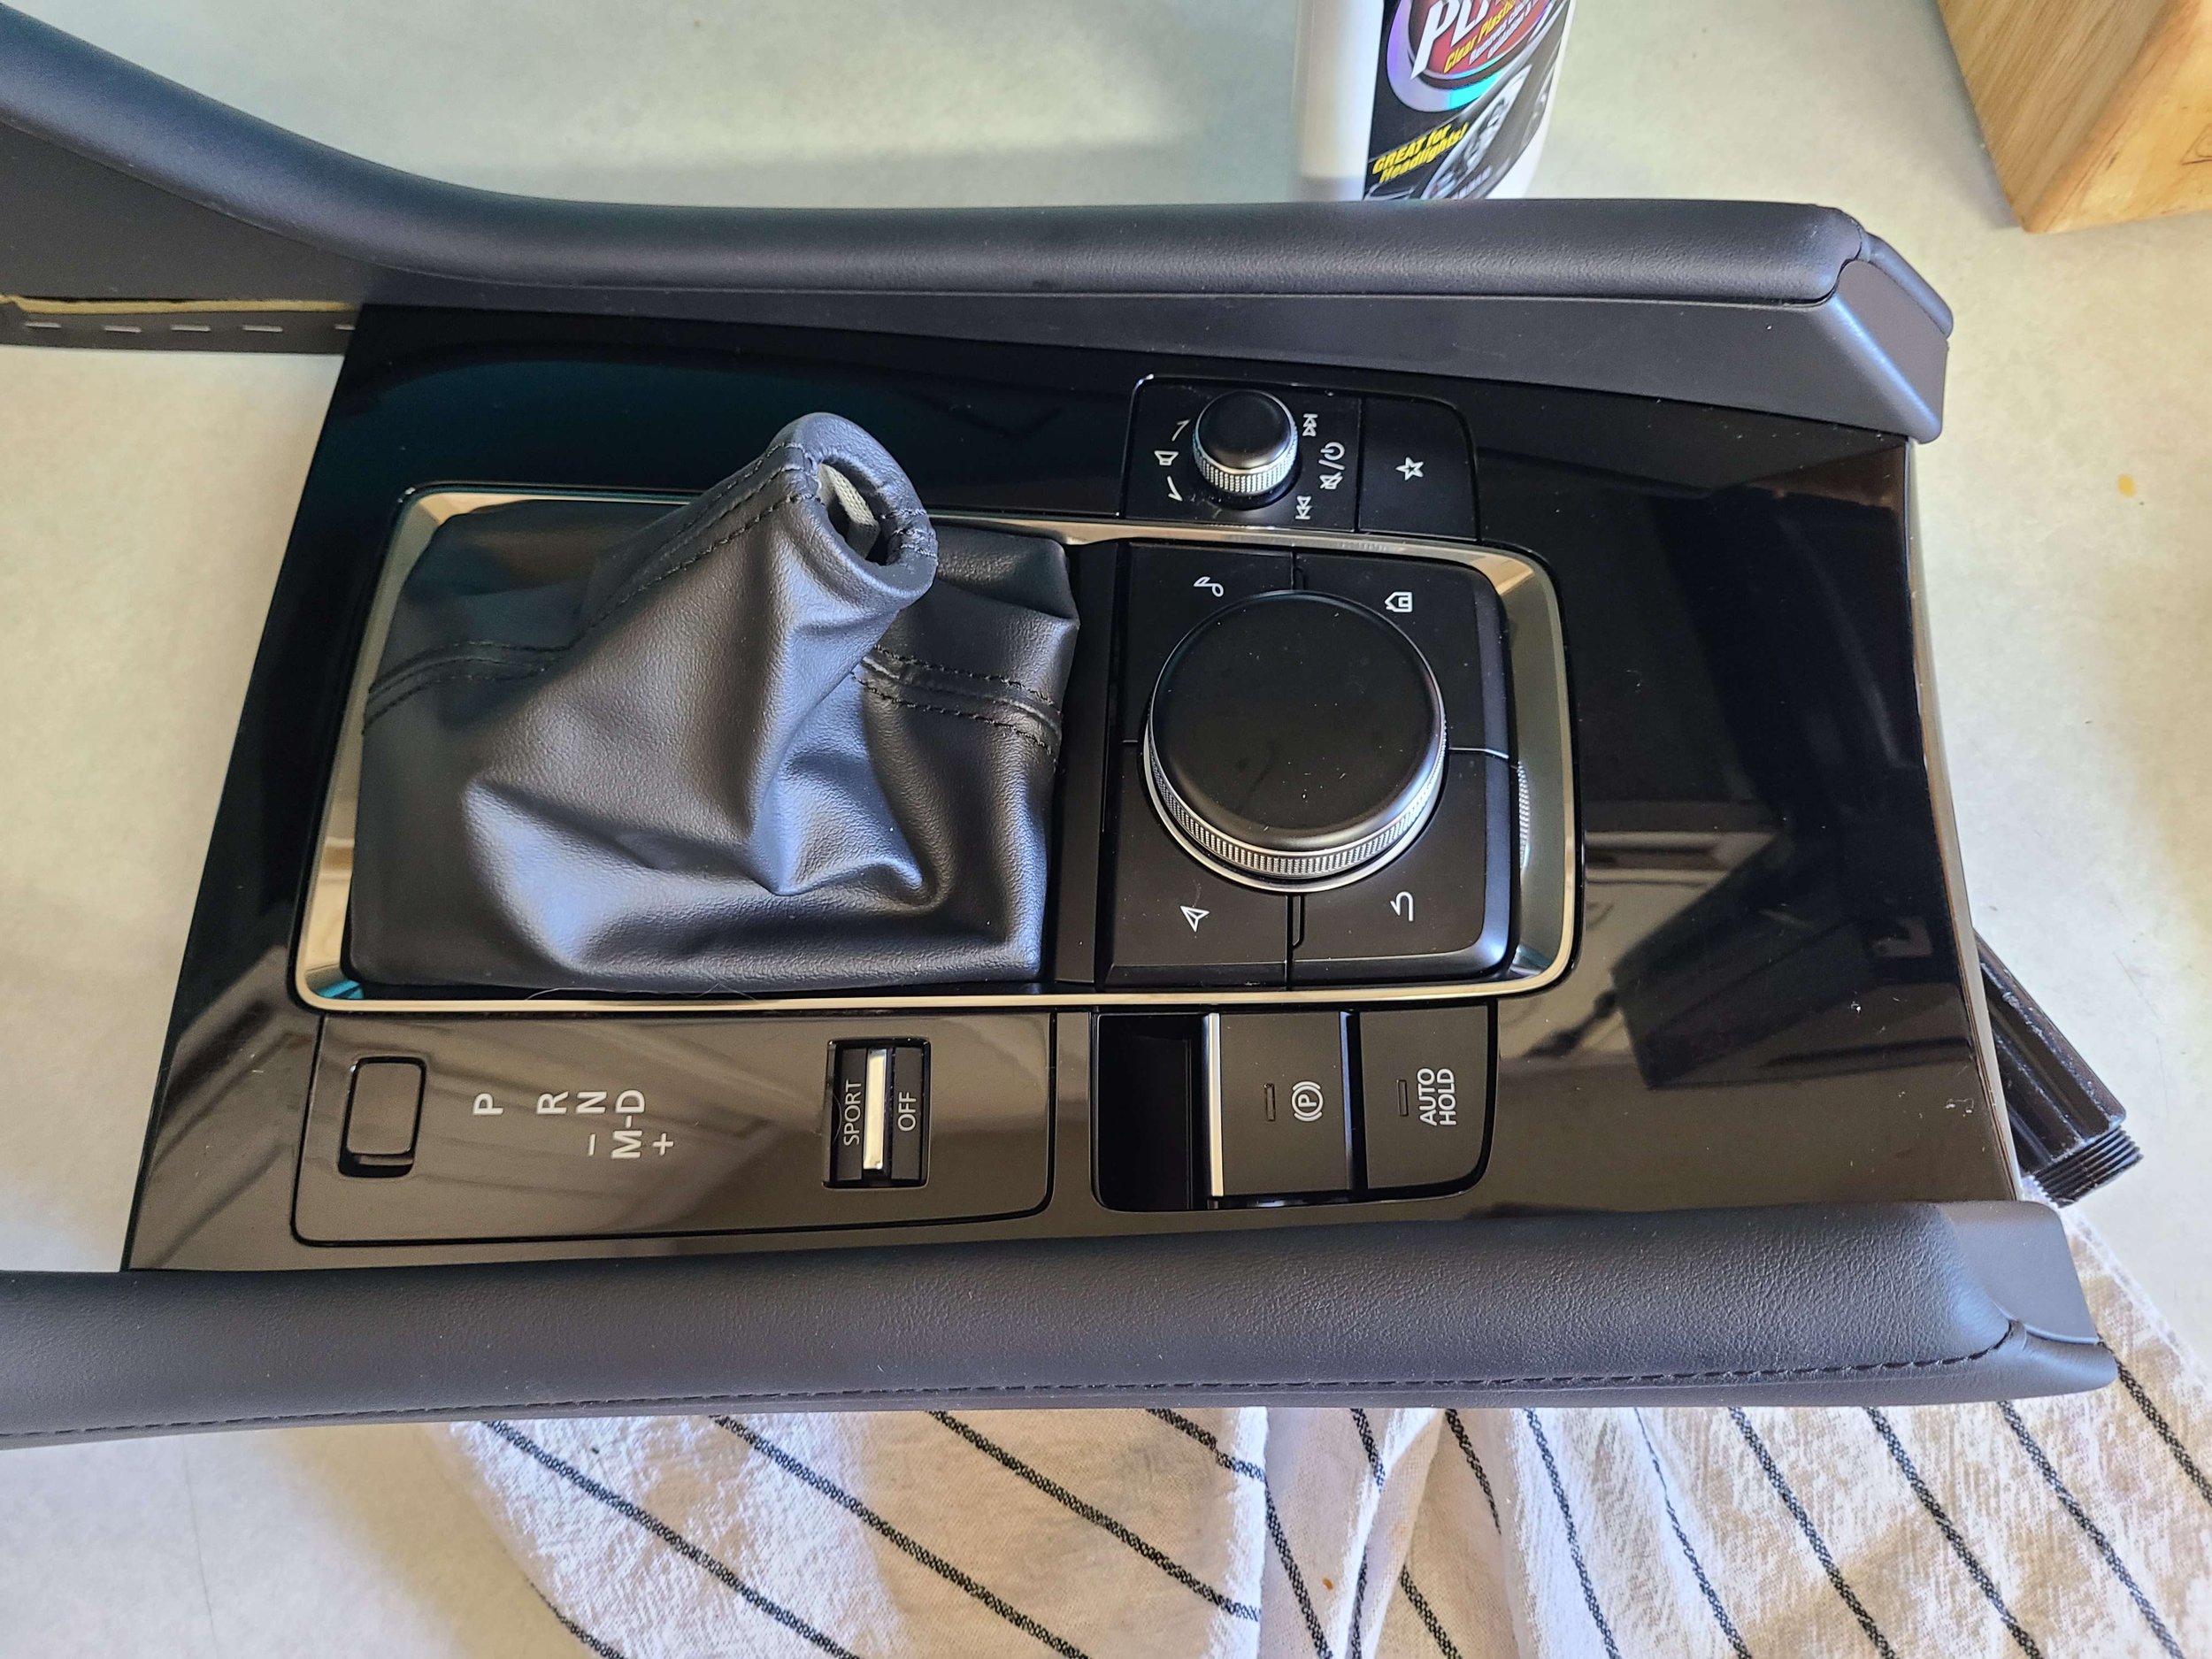
Note: If using a DA Polisher, you will want to remove the plastic trim pieces before starting the restoration process.
Apply the multipurpose cleaner to the plastic surface, and wipe clean with a microfiber towel.
For any stuck on gunk or residue, allow the cleaner to sit, and gently agitate the dirt with the microfiber.
Avoid scrubbing the surface, and swap to a clean portion of the towel to wipe clean in order to prevent making the scratches even worse.
Leave the surfaces to dry, to ensure no water or cleaning agent will interact with the polishing compound.
Step 3: Polishing Compound
Once the plastics are dry, with a new clean microfiber, spread the polishing over the surface you’ll be working with first in a thin layer. You don’t want the compound to be too thick, just enough of a light coating to smear the surface.
Leave to sit for 1-2 minutes.
Letting the compound sit on the surface before polishing allows the compound to penetrate the outer surface, and helps promote a better and more efficient shine once polished.
Step 4: Scrub. No, not like that.
If you’re using a DA Polisher, let the tool do the work. This isn’t an article on how to use a DA, so if it’s your first time I’d recommend finding some resources on using a DA.
With that aside, remember to avoid staying in one spot too long or applying too much pressure. Plastic is much more sensitive to heat than paint, and you can easily damage the surface.
If you don’t have a DA, like the rest of us poors (seriously who’s buying a DA in an economy like this?), you can use the same microfiber you applied the compound with to polish the surface by hand.
Small circular motions moving up, down, left and right, mimicking the movements of a DA Polisher. Apply even gentle pressure to the microfiber, working across the entire surface of the trim piece.
Continue polishing until the compound disappears, it will gradually get absorbed by the towel and the plastic.
If scratches remain, repeat the process.
It’s better to repeat the compound and polish steps multiple times than to over-apply compound and use too much pressure.

Step 5: Wipe Clean
Once the polish step is complete, gently wipe the surface clean with another fresh microfiber towel.
Why so many microfiber towels??
Because polishing compound is filled with very fine abrasive, it works by gently removing a small amount of the top layer and smoothing out the entire surface. Once the polishing step is complete, you no longer want to have the removed material and used compound rubbed against the shiny surface.
You may notice some scratches still, and now’s your chance to go back and repeat the last two steps to achieve the desired results.
If you have any compound that sneaks in between some of the cracks, you can use a Q-Tip or small brush to remove it.
Step 6: Profit?
We alluded to this before… Prevention is key.
Now’s your chance to keep this from happening again by applying a Paint Protective Film.
This is very similar to the process of applying a vinyl wrap, though some products may be more difficult to use.
If you decide this step is worth doing, I’d highly recommend removing the interior pieces before starting this process, so you don’t re-scratch them while trying to get them off to apply the PPF.
Want to learn more?
Sign up for our Newsletter, where we’ll be sending out some regular tips to keep your Mazda looking like new, along with general maintenance and performance solutions.
You can also jump into our Discord Server and chat with Liz about detailing your car directly!
The Discord is home to an awesome community of Mazda owners and enthusiasts. With shared discussions on everything automotive, channels to share pics of your sweet projects, ask questions to highly experienced Mazda owners and auto professionals, and simply share your day to day life and regular activities. It’s something you don’t want to miss out on.